A How To Guide for Handling Owner’s Manuals & Warranties
Today’s topic is not quite sexy, but it is something that people who buy things have to deal with. So, like, all of us. Honestly, owner’s manuals and warranties are pretty much a pain in the behind to deal with, in my mind. They’re just this hulking bulk of paper that you feel you must hold onto, despite also knowing that the chances are incredibly high you’ll never reach for them again. So what to do with them? Here’s my recommendation on proper product material procedure:
Step 1
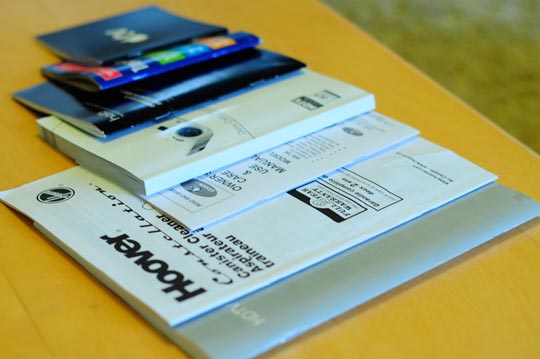
Gather all your owner’s manuals and warranties together. Go on a little hunt throughout your space if need be in order to track them all down.
Step 2
Begin by eliminating all materials for products you no longer own. This is a no-brainer. You are also allowed to throw out the owner’s manuals for products you are well-versed in. A toaster, let’s say. Pretty good chance you won’t need to consult the owner’s manual on how to press “toast” anytime soon.
You can also go ahead and throw out sections of such materials that are written in a foreign tongue. If you don’t know how to use your Kitchenaid Deluxe Blender, the instructions for use written in Japanese probably won’t help you out much. Unless, you know, you speak Japanese. Listen closely: you are actually allowed to physically rip out only the sections of the language you speak, and toss the rest.
As an additional way to shed the paper weight, you can consult the product manufacturer’s website to see if a version of the manual exists online, usually as a PDF. If one does, go ahead and click that sucker right into an “owner’s manuals” folder on your computer, and then trash the paper version.
Step 3
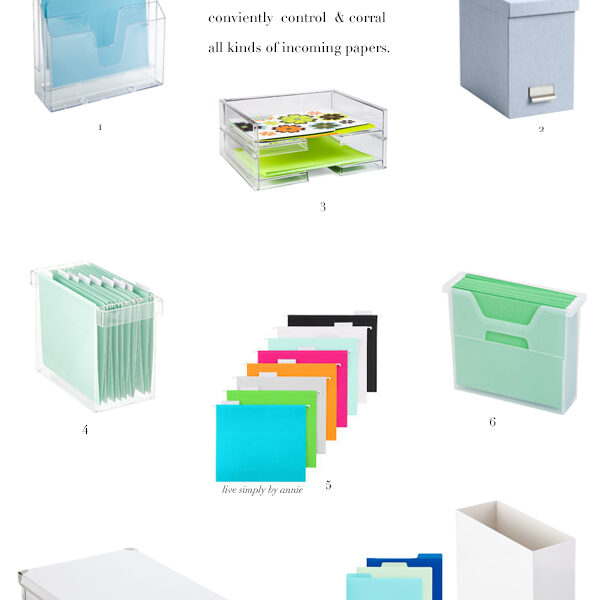
Organize the bananas out of those bad boys. Get yourself a three ringer binder and some plastic sleeves, a magazine file (or two or three), folders, or some bins. Whatever system you feel will work best for you.
Then sort and store the materials into categories, for example:
– Household appliances (washer/dryer, water heater, etc)
– Kitchen appliances (refrigerator, microwave oven, etc)
– Household electronics (TV’s, stereo systems, etc)
– Computer & computer related devices (printer, laptop, external hard drive, etc)
– Small electronics (phones, cameras, ipods, etc)
Keep all related material for a particular product together. This means:
– Owner’s manual
– Warranty
– Serial number (which you can cut off of the packaging, more on that here)
– Original receipt (please note: it’s pretty much imperative that you retain your original proof of purchase. Even if a product is still under warranty, many companies will not uphold it without a proof of purchase.)
Make sure that all elements clearly indicate which product they pertain to. If it’s not screaming out at you that a particular stack of papers refers to your cuisinart, go ahead and label it on your own using either a marker or a label maker. If you’re feeling super intense about this project, it would also be helpful if you note when your warranties will expire. Simply writing the month and year of the expiration date on the front cover of the warranty can be immensely useful during later weeding sessions.
* * *
Now that we’ve established how to er, establish, an organizational system for your manuals and warranties, let’s take a look at how you use this system from the get-go (the point of purchase).
You just bought something. Cool!
You bring it home and take it out of the box. Good job.
You take a pair of scissors and cut out the barcode section from the packaging which contains the serial and model number.
You staple, paper clip, or otherwise affix the rectangle of cardboard containing the serial number and the receipt onto the warranty
You use a labeler or marker to make a note of when the warranty will expire directly on it.
You then place
– the warranty
– the manual
– the serial number
– the receipt
into:
A. A sleeve/section in your binder
B. A file
C. A particular box/bin dedicated to these materials
Boom. You’re done. Now you can go on with your day.
Oh, and after you’ve used your new product, ensured that it works properly, and ruled out the desire to return it? You recycle that box. Yes you do.
Image credits: Apartment Therapy, Lowes, Staples x2, Martha Stewart, Clean Mama, Williams Sonoma, Martha Stewart, Tory Burch
4 Comments
Leave a Comment
Other Posts You May Love
4 Comments
-
This is so something I have to do! I have a ton of them in a drawer and I know for a fact that I no longer own some of the things. You always inspire me 🙂 xoxo
-
Ok you have now inspired me to get this ‘part of my life’ organised. I’m hopeless when it comes to warranties and basically just shove all of them in one part of my filing folder and never look at them again! Thank you for this post Annie! xx
-
[…] find the Kindle paperwork last night … Must go through and put this system in […]
-
“Step 3” has a picture about the instruction manuals in a binder, in yellow special folders. I’m trying to find those kind of folders for my instruction manuals but I can’t figure out where to get them. could you let me know please where can I find those or at least where to look for them. The picture what I’m talking about is the first picture at “Step 3”.
Thank you for all the help,
All the Best,Kriszta
Leave a Comment
Welcome
Search The Blog
Simplify Your World
Sign up for the email list to get inspiration and simplified tips sent right to your inbox.
On Pinterest




![Martha_Stewart_home_office_giveaway[4]](https://livesimplybyannie.files.wordpress.com/2012/05/martha_stewart_home_office_giveaway4.png)











This is so something I have to do! I have a ton of them in a drawer and I know for a fact that I no longer own some of the things. You always inspire me 🙂 xoxo
Ok you have now inspired me to get this ‘part of my life’ organised. I’m hopeless when it comes to warranties and basically just shove all of them in one part of my filing folder and never look at them again! Thank you for this post Annie! xx
[…] find the Kindle paperwork last night … Must go through and put this system in […]
“Step 3” has a picture about the instruction manuals in a binder, in yellow special folders. I’m trying to find those kind of folders for my instruction manuals but I can’t figure out where to get them. could you let me know please where can I find those or at least where to look for them. The picture what I’m talking about is the first picture at “Step 3”.
Thank you for all the help,
All the Best,
Kriszta