Super Simple, Majorly Affordable DIY Necklace Organizer
As of late, I’ve been getting inquires about that necklace organizer situation I told your eyeballs about a couple of months ago. In the interest of getting more done, I’ve decided to field those questions in post-form.
All told, this project probably cost about $20 if that, making it a great option for those on a tight budget.
I should warn you though, this DIY necklace organizer is about is complicated as it sounds and looks. In other words, it’s so easy it renders an explanation post virtually ridiculous. And yet! Sometimes inspiration arises most easily when the step-by-step process is revealed. And so! I don’t know who I think I am with these two-word sentences either, but sometimes it’s all grammar I love you but I gots to do it my way.
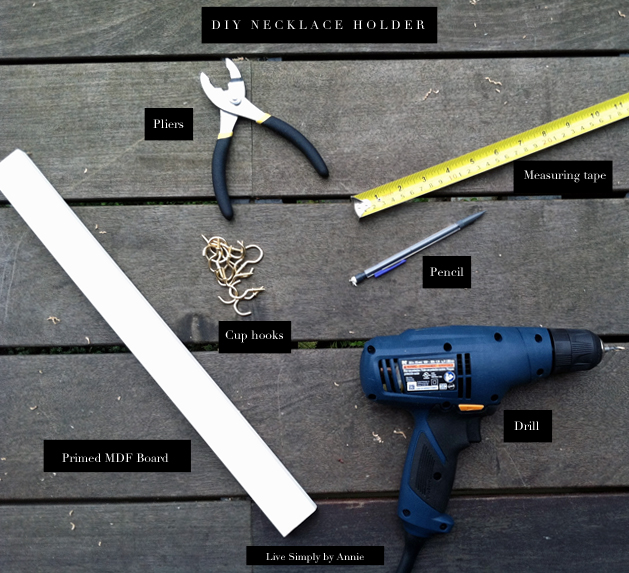
To make your own necklace organizer you will need take notes it’s a mad long list:
– Measuring tape
– Pencil
– Drill
– Pliers
– Some wood. I opted for Primed MDF Board, which I had cut to size. Whatever wood you use, make sure you measure the space you intend to hang this guy beforehand as well.
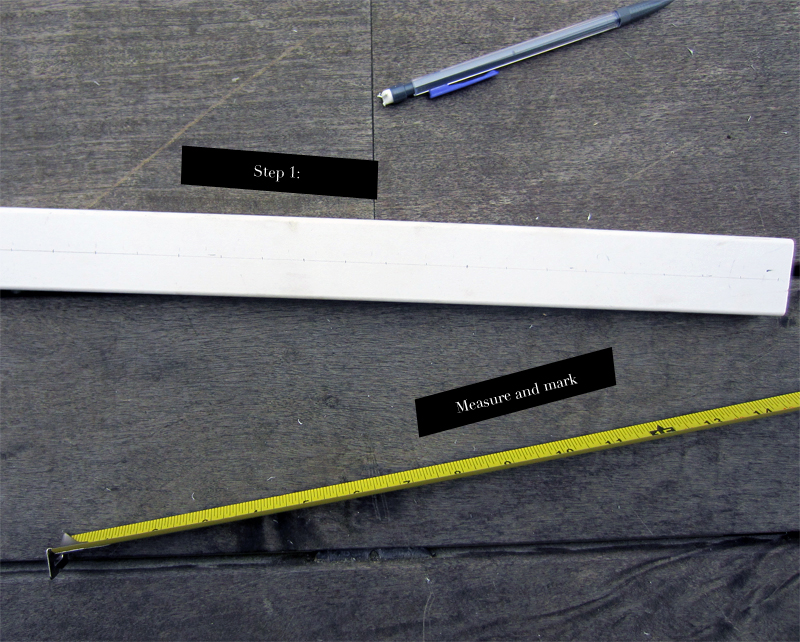
Once you have your wood, you want to measure out and mark your drill holes.
You should take into consideration the type of necklaces you’ll be hanging. My client, being a jeweler, had a vast collection of necklaces–many chunky and many delicate.
For the chunky pieces, I spaced the holes further apart to accommodate for bauble girth. If you’re hanging lots of dainty, delicate chains your holes could probably be pretty close together.
Then some of this shit might happen:
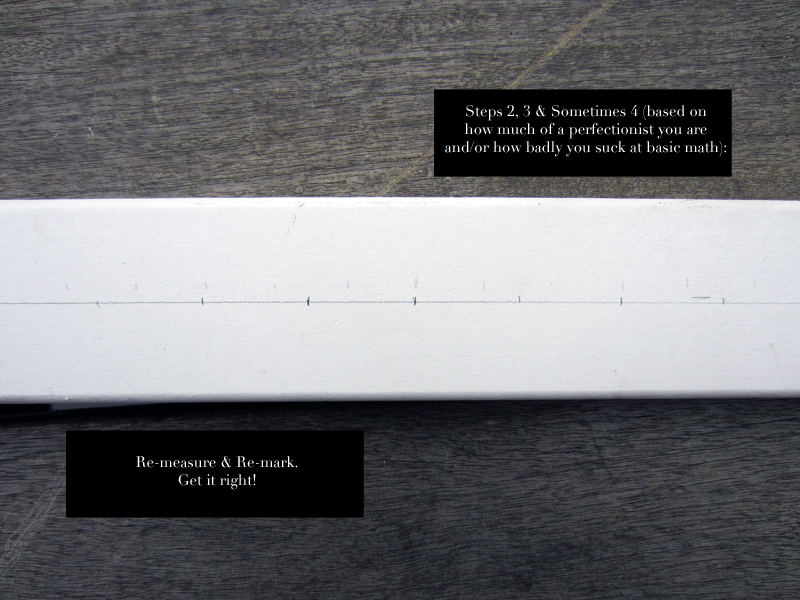
Great! You persevered! Now drill.
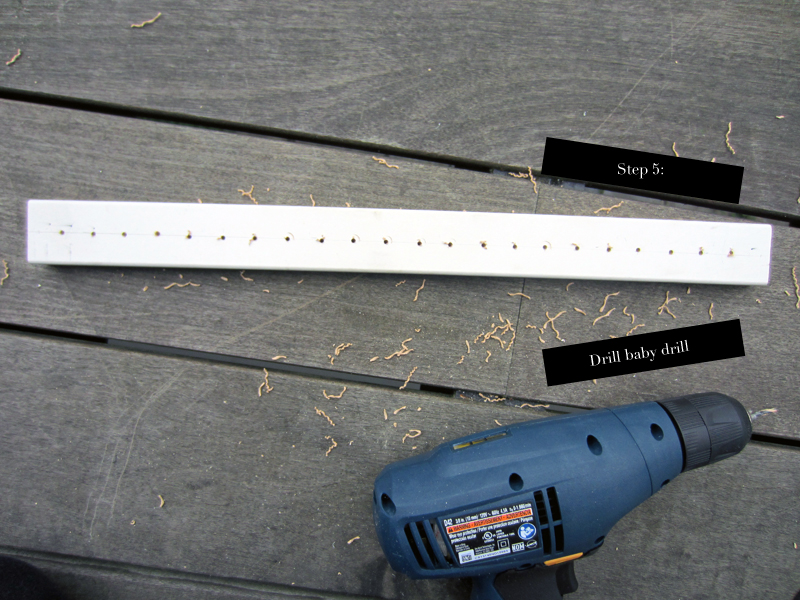
You know, the basics: don’t drill on your knee or directly into your hardwood floor. Put some scrap material beneath your wood as a buffer and be smart people overall. Once you’ve finished drilling, give your wood slab a good shake, dust and blow (Protective eyewear recommended, control yourself with the innuendoes.)
Then you’re ready to screw in your hooks.
I’m ridiculously obstinate about things involving strength, so naturally I want to do everything the lumberman way. Eventually I gave in to the finger torture that was screwing these things in by hand though, and grabbed a pair of pliers to finish the job. This, for the record, is recommended from the beginning, in hindsight.
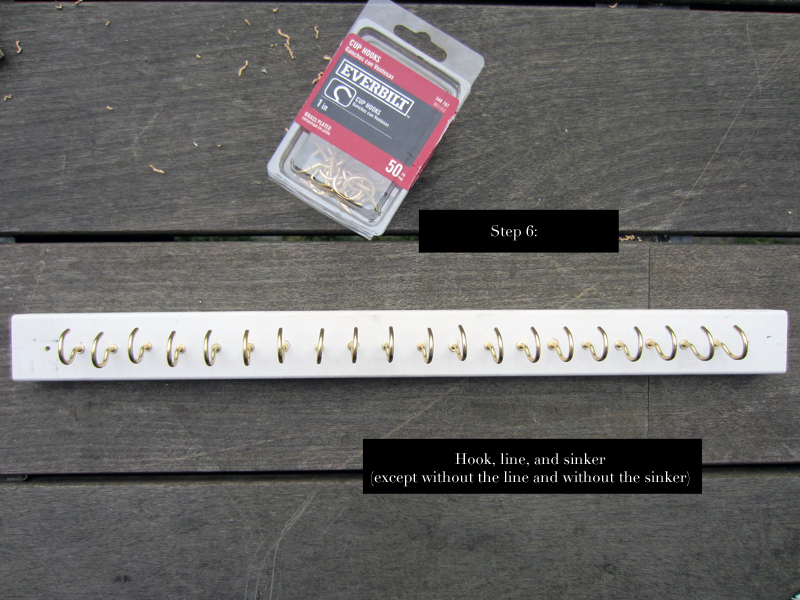
Leave one hole open on either side so that after all that laborious labor you can actually hang this thing on your wall.
And then do that.
Use anchors if you doubt your wall’s capacity, or if you know you’ll be hanging lots of heavy necklaces.
Hang up your neck decoration and bam.
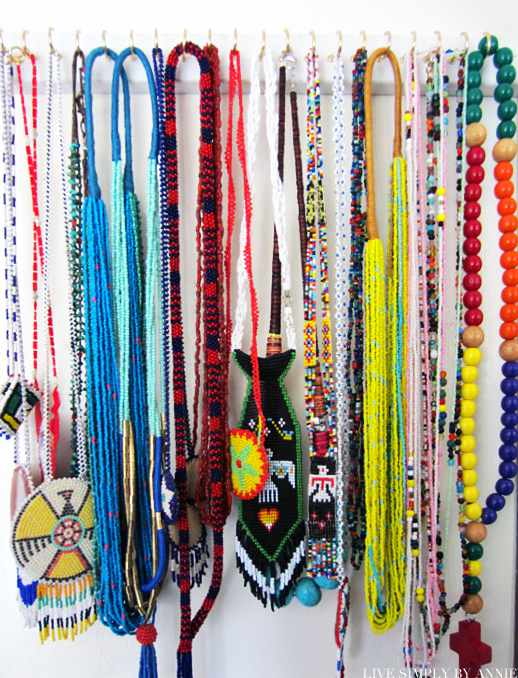
You are a total LSBA rockstar.
Other Posts You May Love


Leave a Comment
Welcome
Search The Blog
Simplify Your World
Sign up for the email list to get inspiration and simplified tips sent right to your inbox.
On Pinterest


